


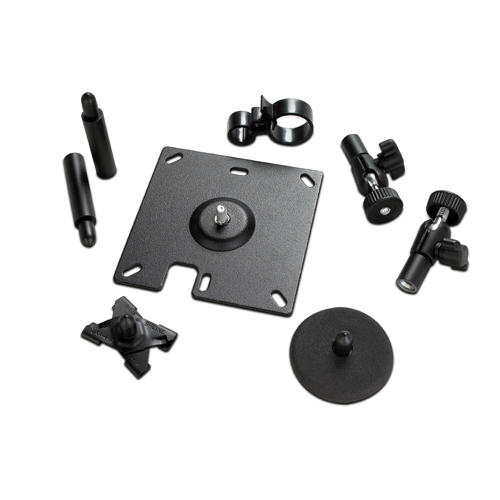
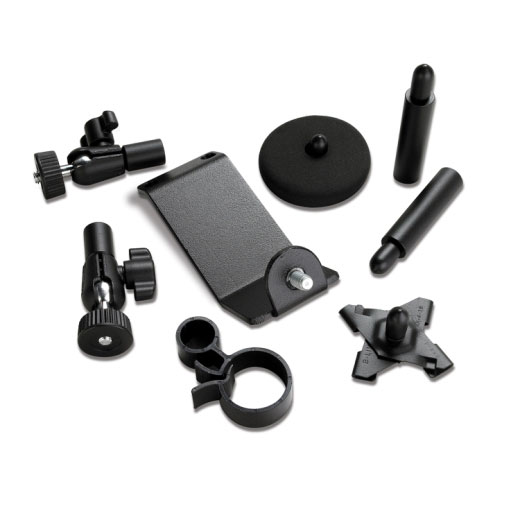
Designed as a reliable replacement component, this mounting bracket is tailored for use with NetBotz Room Monitor Appliances and Camera Pods. Built for stability and precision, it ensures proper mounting alignment for both current and legacy systems, making it a practical solution for maintenance or upgrade installations.
Key Features of NetBotz Replacement Mounting Bracket
Engineered for NetBotz Room Monitor Appliances and Camera Pods
Compatible with NetBotz 300, 400, and 755 wall monitor models
Suitable replacement for NBWL0750 and NBWL0755 appliances
Includes all essential mounting hardware
Ideal for surface mounting and secure fixture applications
Purpose-Built Design
Created specifically to support NetBotz monitoring systems, this bracket maintains a firm and secure fit for consistent operation in various environmental monitoring setups.
Broad Compatibility
Works seamlessly with both older and newer generations of NetBotz equipment, including models from the 300 and 400 series, as well as the latest 755 appliance line.
Complete Mounting Kit
Comes equipped with all required hardware components for easy and straightforward installation, ensuring a dependable mount for continuous monitoring.
Reliable Replacement Option
Designed as a direct substitute for existing mounts, this bracket serves as an effective replacement part that helps maintain the functionality and longevity of your NetBotz systems.

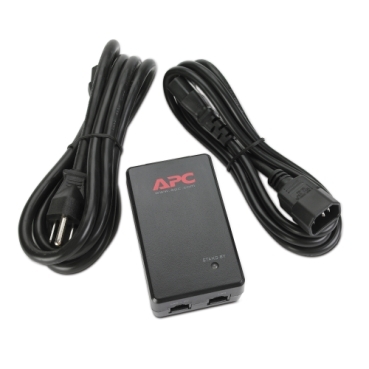
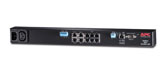
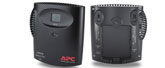
The PoE Injector allows a PoE enabled NetBotz appliance to be used with a non-PoE ethernet switch.
Specifications
Main
Product or Component Type
: PoE power supply
Physical
Height: 1.5 in (38.10 mm)
Depth: 3.5 in (88.90 mm)
Net Weight: 0.77 lb(US) (0.35 kg)
Mounting Mode
: Not rack-mountable
Packing Units
Unit Type of Package 1
: PCE
Number of Units in Package 1
: 1
Package 1 Height
: 3.00 in (7.62 cm)
Package 1 Width
: 6.00 in (15.24 cm)
Package 1 Length
: 7.50 in (19.05 cm)
Package 1 Weight
: 1.60 lb(US) (0.726 kg)
Warranty
Warranty Term: 2 Years
Secure your NetBotz Camera Pod with this specialized mounting bracket, designed for reliable installation inside your rack environment.
Key Features of NetBotz Camera Pod Mounting Bracket
Specifically designed for NetBotz Camera Pod installation
Rack-mountable for efficient use of space
Includes necessary mounting hardware
Durable construction for long-term reliability
Rack Integration
Mounts securely within your rack, ensuring your NetBotz Camera Pod is positioned for optimal monitoring and cable management.
Complete Hardware Kit
Comes with all required mounting hardware, making setup straightforward and efficient without the need for additional parts.
Reliable Build
Engineered with sturdy materials to provide dependable support for the Camera Pod in demanding IT environments.
Optimized Monitoring Setup
Helps position your camera precisely inside the rack, enhancing coverage and surveillance efficiency.

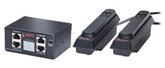
The NetBotz Device Monitoring Pack enables select NetBotz Appliances to monitor SNMP/IPMI capable devices, extending their functionality to support broader infrastructure monitoring. Designed for integration with NetBotz 300, 400, and 500 series appliances, this pack enhances system performance and oversight with advanced management capabilities.
Key Features of NetBotz Device Monitoring Pack
Monitors SNMP/IPMI capable devices, enabling enhanced infrastructure visibility.
Compatible with NetBotz 300, 400, and 500 appliances.
Not compatible with the latest generation NetBotz 250A, 750, or 755 appliances.
Integrates with select NetBotz camera modules and third-party high-definition cameras.
Enhanced software functionality supporting two-way audio, recording, playback, and more.
Advanced Monitoring Capabilities
Connects NetBotz 700 series appliances to monitor SNMP and IPMI capable devices, providing in-depth environmental and security data across connected hardware. Offers integration with select 400 and 500 series appliances for flexible deployment.
Enhanced Software Functionality
Unlocks premium features including two-way audio, audio recording and playback, digitally signed video recordings, camera masking, IP filtering, unlimited usernames, and multiple user privilege levels for secure access control.
Authentication and Security
Control user privileges and access rights to safeguard IT assets against unauthorized individuals. Granular permissions help ensure system integrity across all monitored devices.
Flexible Alert Policies
Identify and respond to potential issues before they escalate. Export data logs for analysis to track long-term performance and environmental conditions.
Hierarchical Device Grouping
Organize connected devices by physical location or organizational hierarchy for simplified management and efficient monitoring.
Mass Configuration
Enables users to create, save, and push configurations or specific device settings to multiple APC devices with a Network Management Card, reducing setup time and ensuring consistency across systems.
Modbus Output Integration
Facilitates communication between NetBotz appliances and third-party systems via RS-485, improving interoperability and data reporting capabilities.
Remote Device Management
Provides remote monitoring of environmental and physical conditions, ensuring proactive management and immediate response to potential risks.
User Access Scheduling
Allows administrators to grant equipment access during specific timeframes for each configured proximity card, ensuring controlled access to sensitive environments.
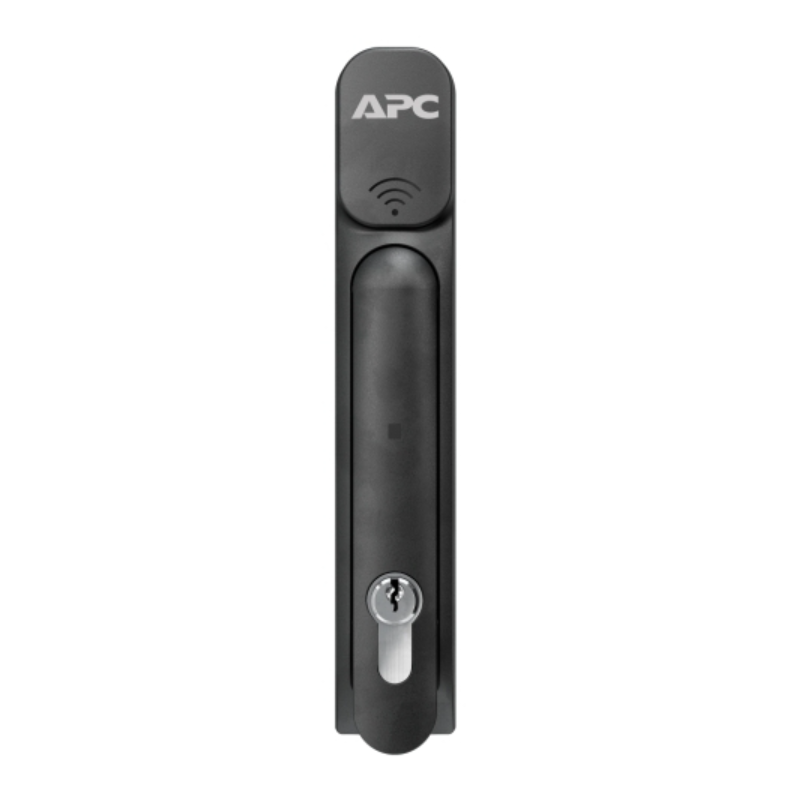
NetBotz 13.56 MHz Handle Kit
Network appliances enabling remote or local access monitoring and control for your NetShelter SX enclosures
Includes: Installation guide
Password security
User-selectable password with strong password rules and reset password mechanism.
Read-only Access
Share access without risking unauthorized configuration changes.
Event logging
Pinpoint the timing and sequence of events leading up to an incident with the event log.
User Access Scheduling
Grant equipment access for specific times for each proximity card configured.
Physical access control
Grant authorized people access to equipment through proximity card authentication.
Browser Accessible
View the user interface with a browser. Gives quick access from anywhere on the network without the need to install software.
Telnet management
Provides a simple telnet session or SSH for remote battery management access.
Master Key Override
Override electronic access with a hard key for power outages and maintenance.
Integrates with StruxureWare Data Center Expert
An IT-ready, scalable access monitoring system that collects, organizes, and distributes critical alerts, surveillance video and key information, providing a unified view of complex physical infrastructure environments from anywhere on the network.
Installation:
1. Rotation limiter
6.
Bottom mounting bracke
2. Cam from your rack
7. M3x25 Phillips mounting screws (4)
3. Cam screw
8. Proximity reader connector
4. Top mounting bracket
9. Lock connector port
5. M3x14 Phillips mounting screw
1. Remove the existing rack handles (see “Remove the front door handle” on page 4 or “Remove the rear door handle” on page 4). Remove the cam from the door handle, and save it for step 5.
2. Slide the new handle through the opening in the door.
3. With the swing handle closed, position the rotation limiter (1) with the arrows in the lower right corner for right-hand mounting, or in the lower left for left-hand mounting. Ensure the swing handle moves toward the inside of the rack in the open position. Reposition the rotation limiter if necessary.
4. Attach the top mounting bracket (4) with the M3x14 Phillips screw (5).
5. Reattach the cam 2) with the cam screw (3), or use the cam screw to attach the cam provided for your rack.
6. Attach the bottom mounting bracket (6) using four M3x25 Phillips screws (7), with the tab on the right for right hand mounting, or on the left for left hand mounting. NOTE: Make sure the handle wire is outside the mounting bracket and does not interfere with the latch. Do not crimp the wire during installation.
7. Attach the included cable assembly to the proximity reader connector on the handle wire (8) and the lock connector port (9) on the handle. Route the cable assembly through the rack door. NOTE: Only use the cable assembly that came with the Handle Kit.
8. At the hinge between the door and the rack, use the RJ45/RJ45 coupler to connect the cable assembly to the CAT5 cable.
9. Continue routing the CAT5 cable through the rack.
10. Connect the cable to the appropriate port on a compatible NetBotz appliance.
Additional information can be found in the User Guide PDF file
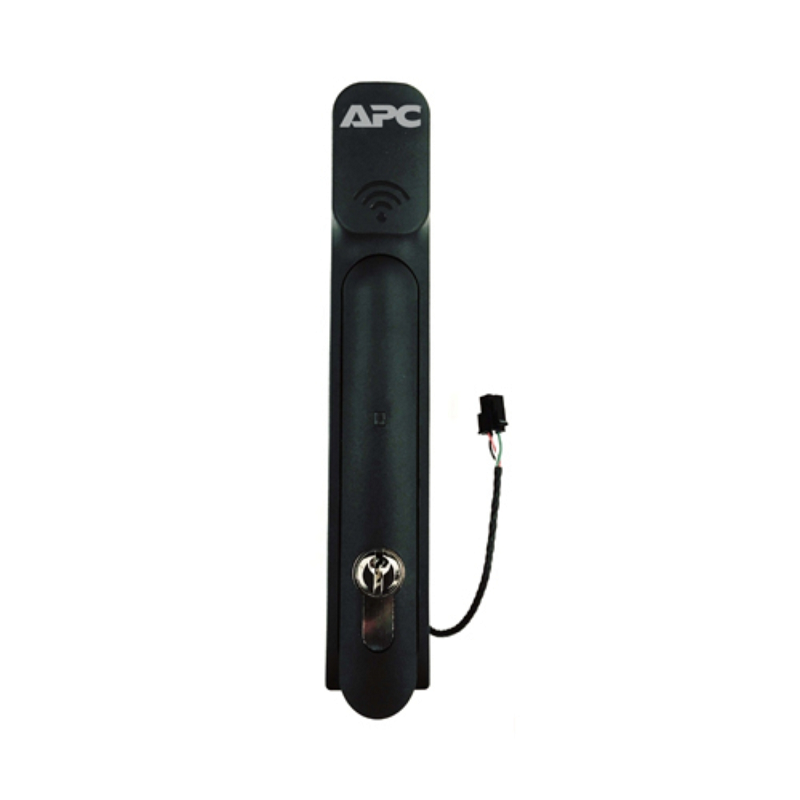
NetBotz 125 kHz Handle Kit
Network appliances enabling remote or local access monitoring and control for your NetShelter SX enclosures
Includes: Installation guide
Password security
User-selectable password with strong password rules and reset password mechanism.
Read-only Access
Share access without risking unauthorized configuration changes.
Event logging
Pinpoint the timing and sequence of events leading up to an incident with the event log.
User Access Scheduling
Grant equipment access for specific times for each proximity card configured.
Physical access control
Grant authorized people access to equipment through proximity card authentication.
Browser Accessible
View the user interface with a browser. Gives quick access from anywhere on the network without the need to install software.
Telnet management
Provides a simple telnet session or SSH for remote battery management access.
Master Key Override
Override electronic access with a hard key for power outages and maintenance.
Integrates with StruxureWare Data Center Expert
An IT-ready, scalable access monitoring system that collects, organizes, and distributes critical alerts, surveillance video and key information, providing a unified view of complex physical infrastructure environments from anywhere on the network.
Installation:
1. Rotation limiter
6.
Bottom mounting bracke
2. Cam from your rack
7. M3x25 Phillips mounting screws (4)
3. Cam screw
8. Proximity reader connector
4. Top mounting bracket
9. Lock connector port
5. M3x14 Phillips mounting screw
1. Remove the existing rack handles (see “Remove the front door handle” on page 4 or “Remove the rear door handle” on page 4). Remove the cam from the door handle, and save it for step 5.
2. Slide the new handle through the opening in the door.
3. With the swing handle closed, position the rotation limiter (1) with the arrows in the lower right corner for right-hand mounting, or in the lower left for left-hand mounting. Ensure the swing handle moves toward the inside of the rack in the open position. Reposition the rotation limiter if necessary.
4. Attach the top mounting bracket (4) with the M3x14 Phillips screw (5).
5. Reattach the cam (2) with the cam screw (3), or use the cam screw to attach the cam provided for your rack.
6. Attach the bottom mounting bracket (6) using four M3x25 Phillips screws (7), with the tab on the right for right hand mounting, or on the left for left hand mounting. NOTE: Make sure the handle wire is outside the mounting bracket and does not interfere with the latch. Do not crimp the wire during installation.
7. Attach the included cable assembly to the proximity reader connector on the handle wire (8) and the lock connector port (9) on the handle. Route the cable assembly through the rack door. NOTE: Only use the cable assembly that came with the Handle Kit.
8. At the hinge between the door and the rack, use the RJ45/RJ45 coupler to connect the cable assembly to the CAT5 cable.
9. Continue routing the CAT5 cable through the rack.
10. Connect the cable to the appropriate port on a compatible NetBotz appliance.
Additional information can be found in the User Guide PDF file