


| Product Code: | |
| Options: | |
| Qty: | |
| Unit Price: | £ |
| Part No: | JNEX2300-C-MGNT-MNT |
| Manufacturer No: | EX2300-C-MGNT-MNT |
| Delivery: | In Stock: 5-7 Days |


 |
EX2300-C-MGNT-MNT Magnet mount
The EX2300-C Ethernet Switch offers a compact, power-efficient, cost-effective solution for low-density branch offices and enterprise workgroups. Featuring a fanless design, the EX2300-C is completely silent, making it ideal for open office deployments and commercial applications such as in retail stores. Access ports are available both with and without IEEE 802.3af Power over Ethernet (PoE) or 802.3at PoE+ for powering attached network devices.
The EX2300-C is cloud-ready and ZTP-enabled, so you can onboard, configure, and manage it with Juniper Mist™ Wired Assurance for improved connected-device experiences. In addition, the Juniper Mist Cloud streamlines deploying and managing your campus fabric, while Mist AI simplifies operations and improves visibility into the performance of connected devices. Support for Juniper’s Virtual Chassis technology allows the interconnection of up to three EX2300-C switches with a fourth Virtual Chassis-compatible EX Series switch, which can all be managed together as a single logical device.
1. Remove the switch from the shipping carton (see Unpacking an EX2300 Switch).
2. Turn the chassis upside down.
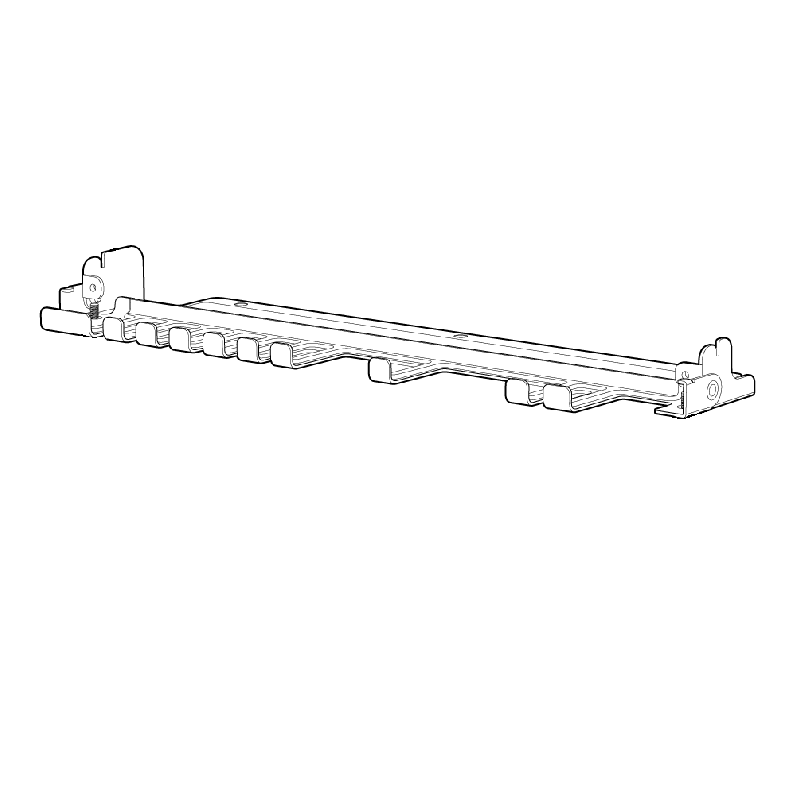
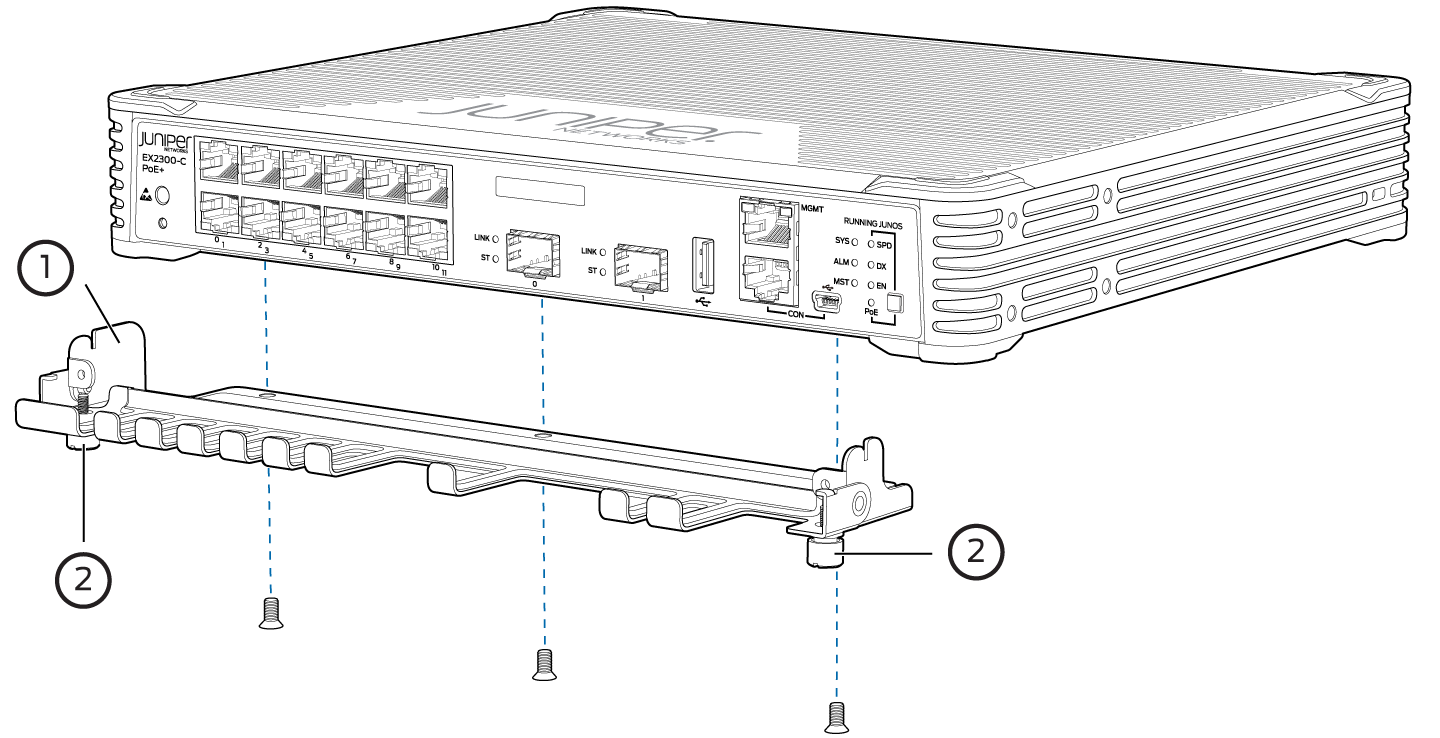
3. (Optional) Attach the cable guard to protect cable connections:
a. Use the 3 truss-head screws to attach the cable guard to the bottom of the chassis.
b. Use the thumbscrews to tighten or loosen the cable guard so that you can insert cables.
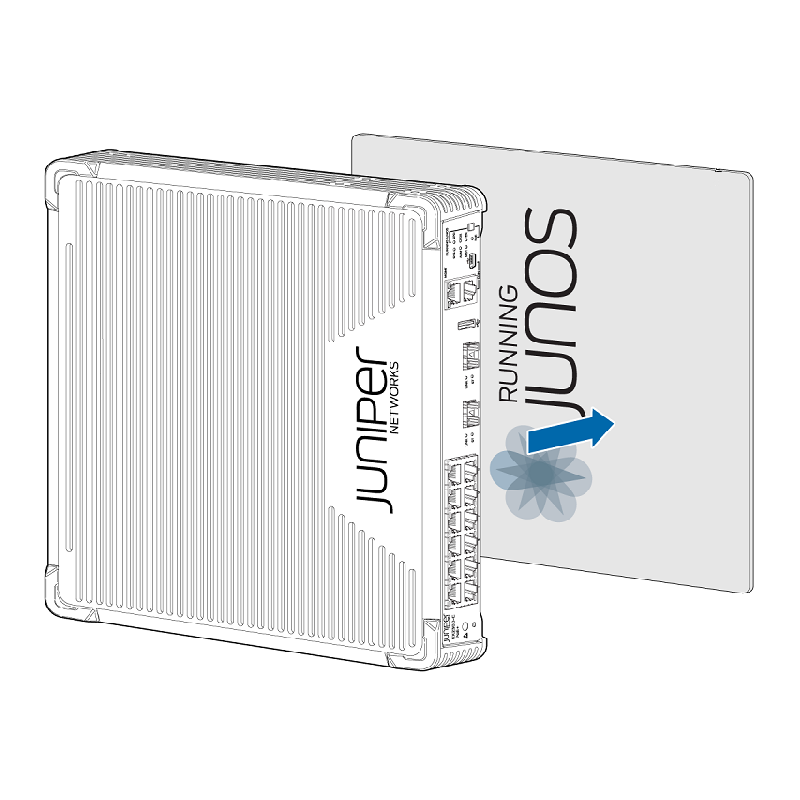
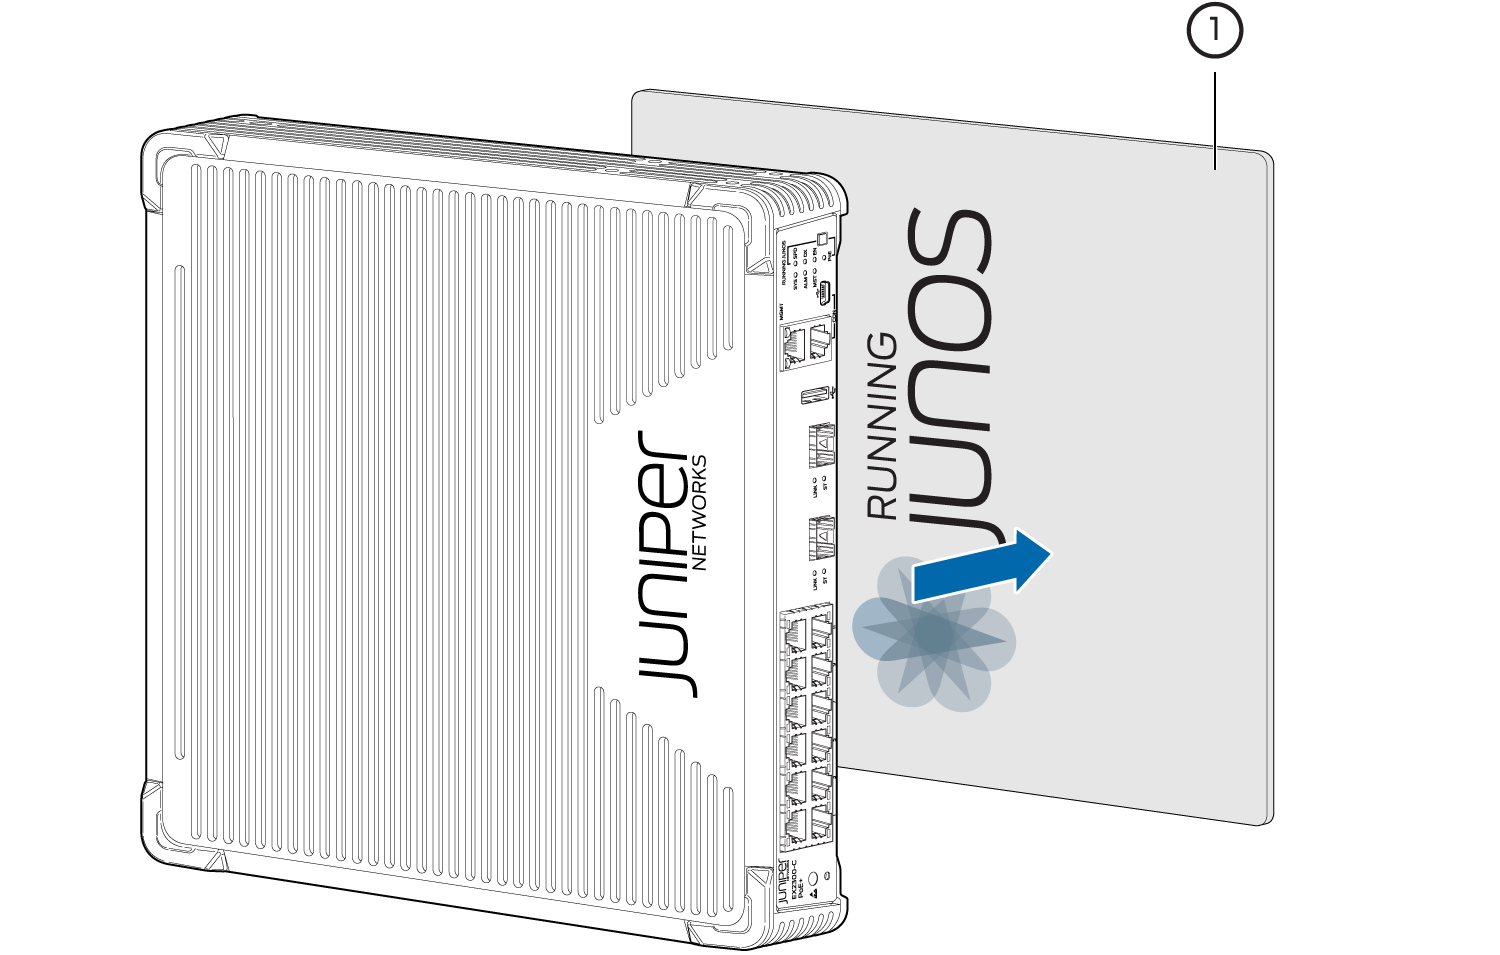
4. Attach the self adhesive rubber pads provided with the magnet-mount kit to the bottom of the switch.
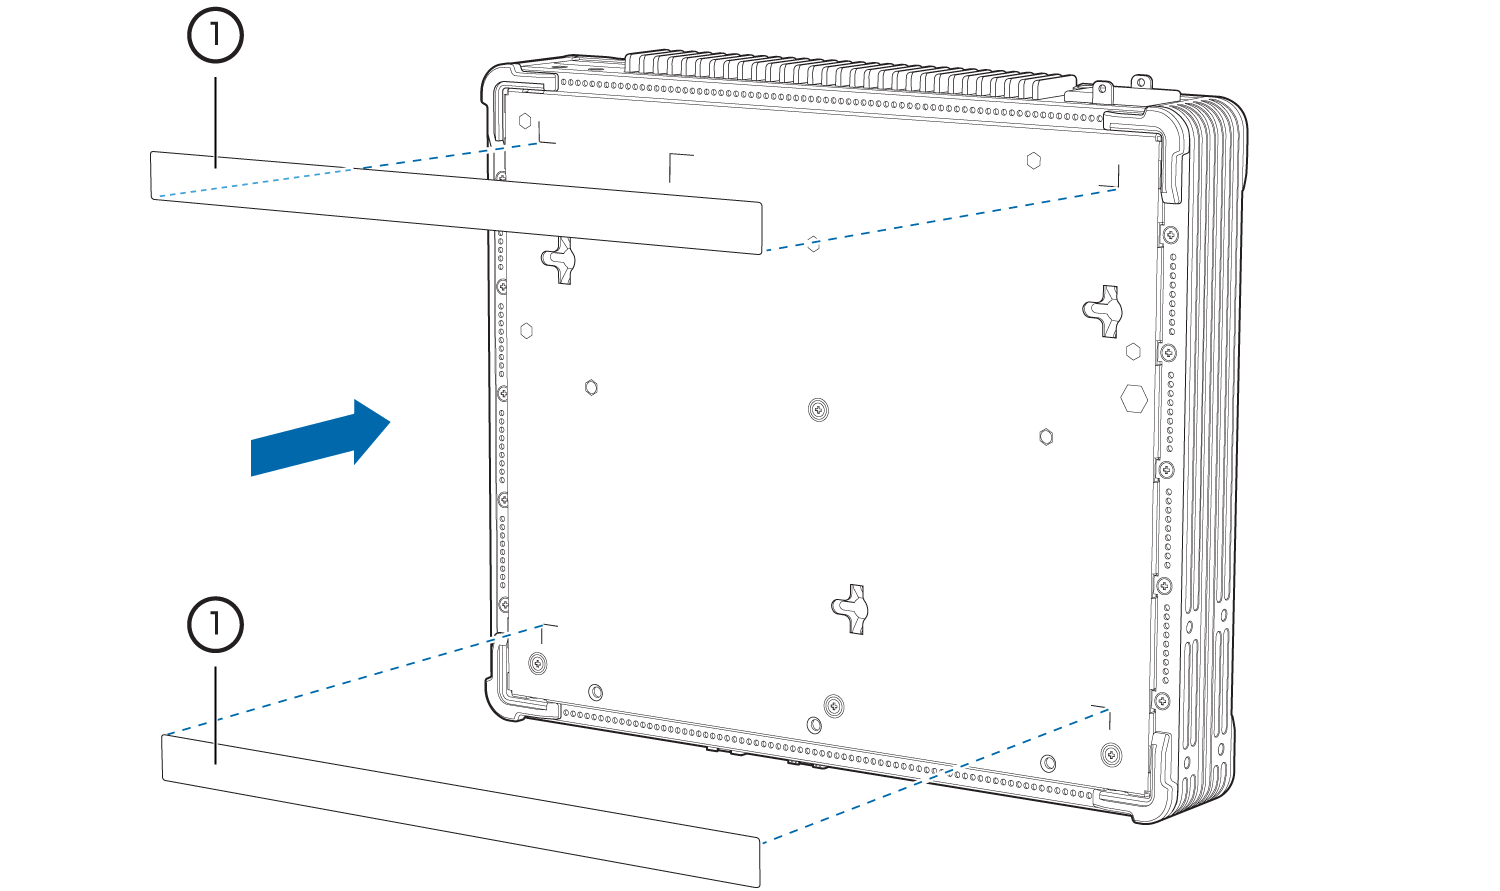
5. Attach the surface of the magnet mount sheet that has the Running Junos logo to the rubber pads.
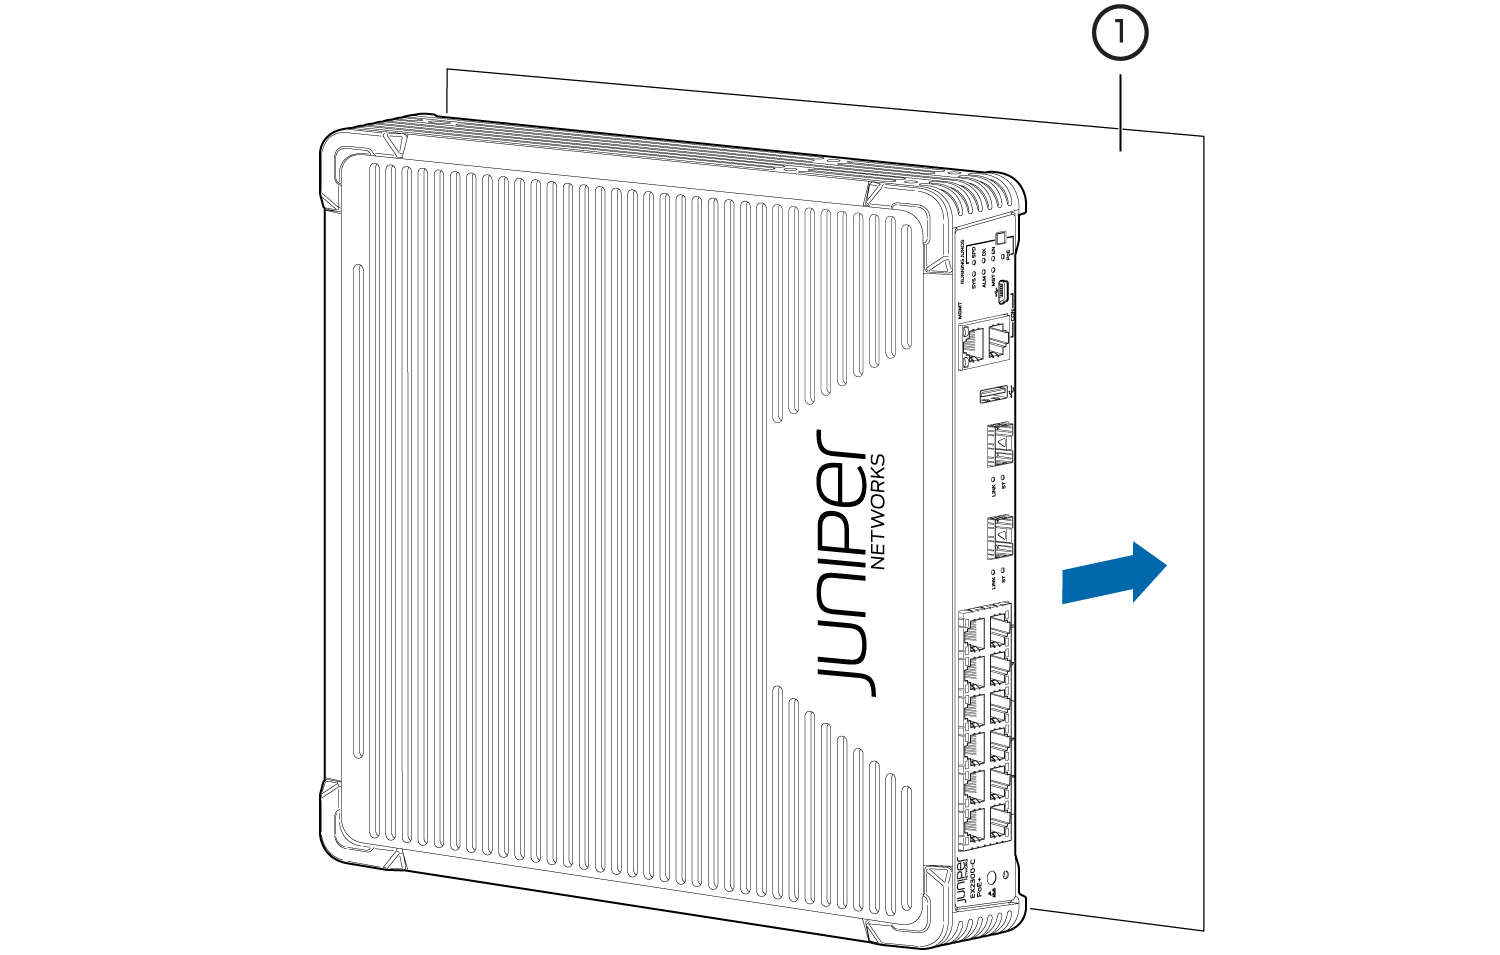
6. Mount the switch along with the magnet mount sheet on the ferrous surface on which you want to mount the switch.
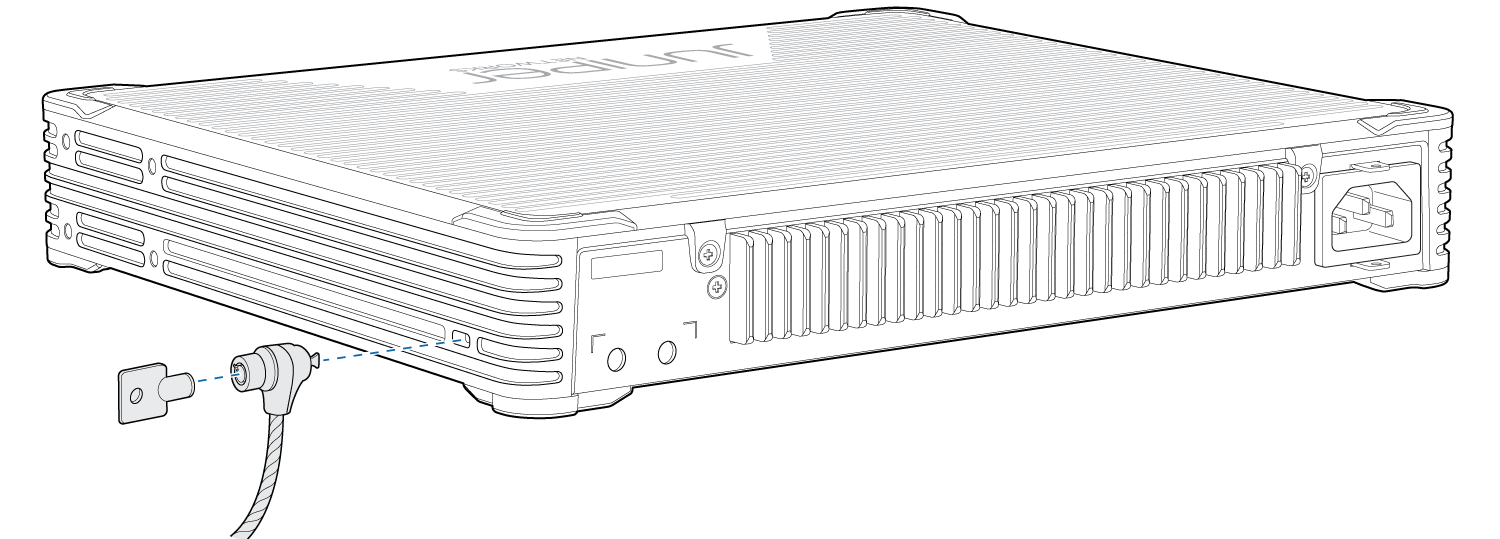
7. (Optional) Attach the standard cable lock to the security slot on the switch:
a. Fasten the cable to a desk or a rack and set the lock to unlocked position using the key.
b. Insert the lock into the security slot on your chassis and set the lock to the locked position using the key.
EX2300-C-MGNT-MNT Magnet mount
The EX2300-C Ethernet Switch offers a compact, power-efficient, cost-effective solution for low-density branch offices and enterprise workgroups. Featuring a fanless design, the EX2300-C is completely silent, making it ideal for open office deployments and commercial applications such as in retail stores. Access ports are available both with and without IEEE 802.3af Power over Ethernet (PoE) or 802.3at PoE+ for powering attached network devices.
The EX2300-C is cloud-ready and ZTP-enabled, so you can onboard, configure, and manage it with Juniper Mist™ Wired Assurance for improved connected-device experiences. In addition, the Juniper Mist Cloud streamlines deploying and managing your campus fabric, while Mist AI simplifies operations and improves visibility into the performance of connected devices. Support for Juniper’s Virtual Chassis technology allows the interconnection of up to three EX2300-C switches with a fourth Virtual Chassis-compatible EX Series switch, which can all be managed together as a single logical device.
1. Remove the switch from the shipping carton (see Unpacking an EX2300 Switch).
2. Turn the chassis upside down.
3. (Optional) Attach the cable guard to protect cable connections:
a. Use the 3 truss-head screws to attach the cable guard to the bottom of the chassis.
b. Use the thumbscrews to tighten or loosen the cable guard so that you can insert cables.
4. Attach the self adhesive rubber pads provided with the magnet-mount kit to the bottom of the switch.
5. Attach the surface of the magnet mount sheet that has the Running Junos logo to the rubber pads.
6. Mount the switch along with the magnet mount sheet on the ferrous surface on which you want to mount the switch.
7. (Optional) Attach the standard cable lock to the security slot on the switch:
a. Fasten the cable to a desk or a rack and set the lock to unlocked position using the key.
b. Insert the lock into the security slot on your chassis and set the lock to the locked position using the key.
Product data is provided by Icecat, we do not warrant the accuracy of the material above.