
Whilst everything seems to be wireless these days, Ethernet can outperform Wi-Fi offering better signal quality, data speeds, and network scalability outperforming. Ethernet is great for cameras, phone systems, and sensor installations, not just the usual computing systems.
Although wireless offers an easy setup, using a wired network gives you a high-speed, private solution for file sharing, media streaming, internet access, telecommunications, and much more.
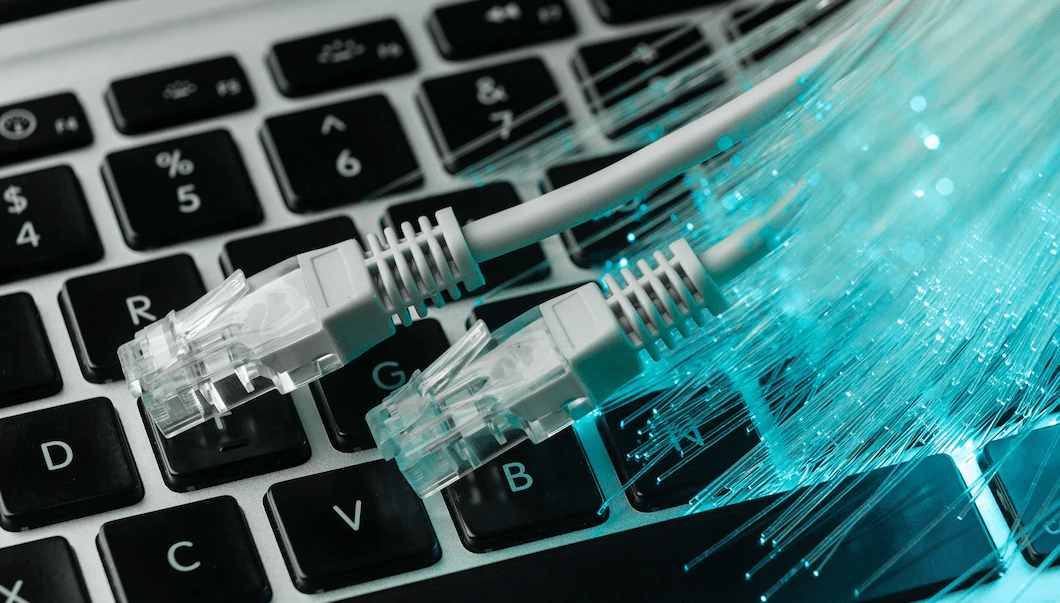
But where should you begin? Here are the basic steps to set up an Ethernet wiring solution. Buy Pre-Made Ethernet Cables
Planning Your Ethernet Solution
Before anything else, you need a plan. Where does this need to go? How much wiring do you need? Which Ethernet cables are the best?
Remember – measure twice, cut once.
Step 1: Choose Your Locations
Before even thinking about what equipment to choose, ask yourself:
- Where in the home or office are your devices located?
- How many ports do you need in each location?
- What sort of network speed are you looking to achieve?
- Where are you locating your network equipment?
- And possibly most importantly, what route will your Ethernet cables take?
If you can obtain building plans, try drawing out where you want your ethernet cables to go. This can help you work out how much Ethernet cable you need.
Step 2: Choose Your Cables
Depending on where you’re installing your Ethernet wiring solution will influence the type of cables you’ll be after. You’ll need to decide whether you want to work with Cat5e cables or Cat6 cables.
Category 5 Enhanced Cables, more commonly known as Cat5e, are an excellent solution for home networks. They offer consistently high speeds and reliability.
Category 6 Cables, or Cat6 are more commonly used in business network infrastructures. These cables offer even greater speeds and additional interference improvements for enhanced performance capabilities.

Step 3: Choosing Your Equipment
After choosing your cabling option, you will need to consider the rest of the installation materials and components you’ll need for the network.
• RJ45 Modules to terminate your Ethernet cable with to allow a connection with a plug.
• RJ45 Plugs to terminate the end of your Ethernet cable and allow you to plug your cable into a device.
• Crimping tools to cut the plasic sheath on cables.
• Back Boxes to be attached to the wall and hold your cables.
• A cable management solution – to keep your cables organised.
• A router – you may already have one courtesy of your ISP – to connect your devices.
• A switch – to create a network to connect devices together.
• A patch panel – an optional addition – to help organise your cables.
• Tools – such as a drill and a saw – to complete the installation
• Labeller – if you don’t have a label maker a sharpie would work too.
Wiring And Installing Your Ethernet Cable Solution
Step 4: Install Your Back Boxes
Take every location you plan to run a cable and use your tools to make some back box-sized holes in the wall. Whilst making holes in the walls don’t forget a hole big enough to fit all your Ethernet cables through in the room where your network equipment will be located. Once the holes have been created, get to work in installing your back boxes.
Step 5: Measure Your Ethernet Cable
Time to figure out how much cable you’ll actually need. Measure the route that your wiring will need to take to get from point A to point B. Pay extra attention to corners or anything your wire will need to get around to ensure you’re not left short. If you’re following the route of existing cables you can use these to measure how much wire you’ll need.
Don’t forget to add some extra length for stripping and crimping the ends.
Step 6: Wiring Your Ethernet Cables
Now you’ll need to wire your ethernet cables.
-
- Use a crimping tool to cut the plastic sheath. Give yourself around an inch of exposed wire to work with.
- Split out the coloured wires and arrange them in order (like in the image below)

- Cut the ends of the wires to around half an inch long so they’ll fit into your connector. Make sure they all remain equal lengths.
- Carefully insert your wires into your RJ45 connector. Make sure the wires go all the way to the end of the connector but don’t extend beyond the ends. Also, ensure that you have some of the plastic wire cover in the connector.
Step 6: Run Your Wires
Before all else, take your opportunity to label your cables. Make this as clear as possible to remind you of where your cables are connected to.
Now you can take your cables and run them through your decided route. This can be a complex process, especially when dropping the Ethernet cables into the walls.
Step 7: Connect The Ethernet Cables To The Network
Once your cables are in place, you can now connect them to your patch panel, if you have one, or straight to your switch.
At the other ends, click the jacks into their wall plates and screw the wall plates into the back boxes.
Step 8: Test Your Network
Finally, test your network, either using a network cable tester or the following manual process.
If you’re using a patch panel, you can plug a patch cable from the panel to each port on the Ethernet switch and turn it on. Then, use another patch cable to plug a laptop into each port. After each port, check your switch is displaying a link indicator. This is also a good time to confirm that your labelling is correct on each end of a cable.
Once you’re satisfied that your Ethernet cables are working, you can connect your network to the Internet. Now you have a fast, secure wired network.
Shop the Full Range at Comms Express
Browse the UK’s most trusted brands and high-performance infrastructure solutions.
- Cabling & Racks
- Buy Network Cables
- Shop RJ45 Patch Leads
- Buy Patch Panels
- Shop Cat6 Cable
- Buy Fibre Patch Leads
- Shop Server Racks
- Buy Data Cabinets
- Networking & Power
- Shop Network Switches
- Buy UPS Systems
- Shop Rack PDUs
- Buy IP CCTV & Cameras
- Offers & Savings
- Shop Discounts
- Buy Multi-Buy Offers
- Our Top Brands
- Shop Ubiquiti | Buy TP-Link
- Shop Cisco | Buy Netgear
- Shop DrayTek | Buy D-Link
- Shop HPE Aruba | Buy APC
- Shop Teltonika | Buy Eaton
- Shop Excel | Buy Lindy
- Own Brands
- Shop Datacel | Buy CE Networking
Project Planning? Get expert technical advice and custom quotes for large installations. Contact our expert sales team today.