| Product Code: | |
| Options: | |
| Qty: | |
| Unit Price: | £ |
| Part No: | APCAR7578 |
| Manufacturer No: | AR7578 |
| Delivery: | In Stock: 2-3 Weeks |


 |
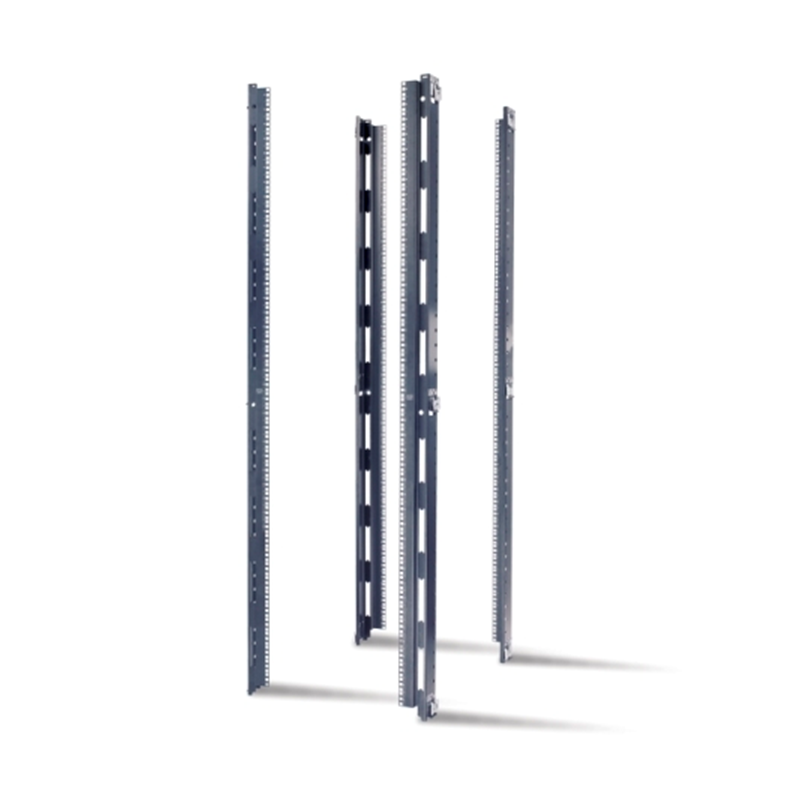
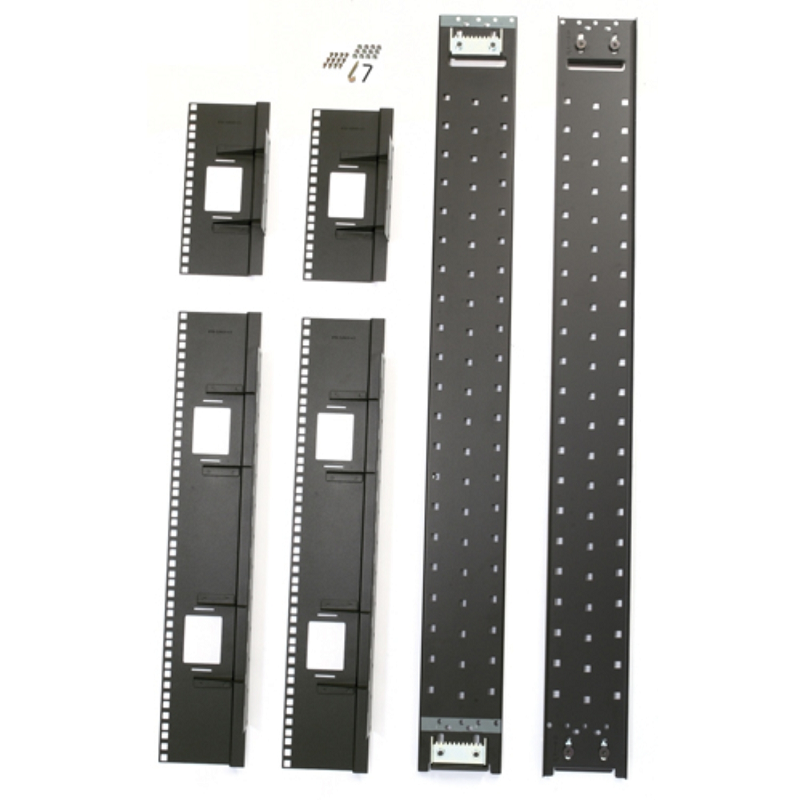
Intermediate mounting rails for supporting shallow depth equipment
Enables users to mount equipment with different depths in a 48U, 750 mm enclosure.
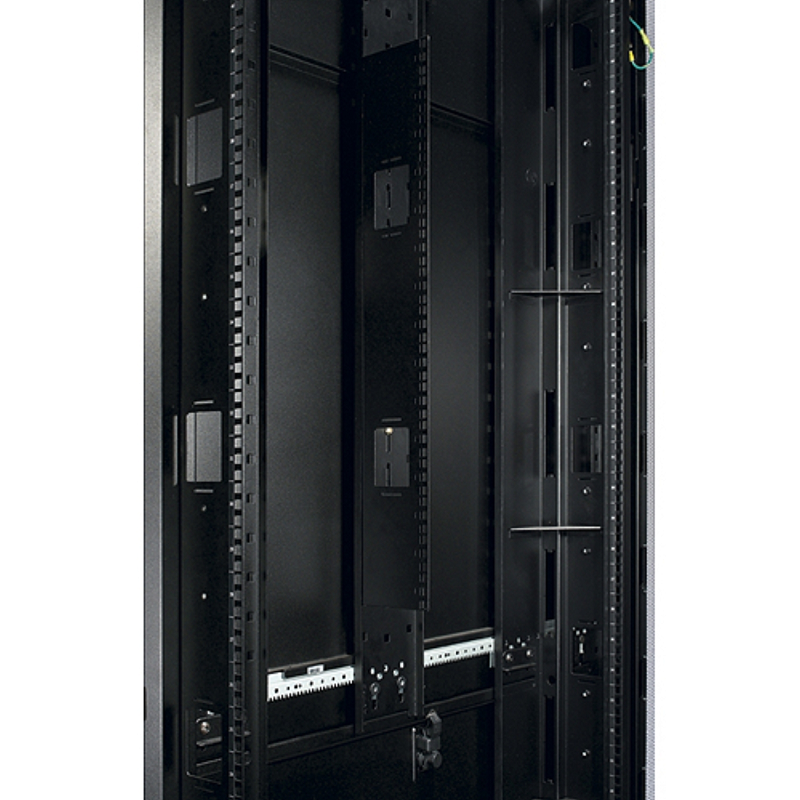
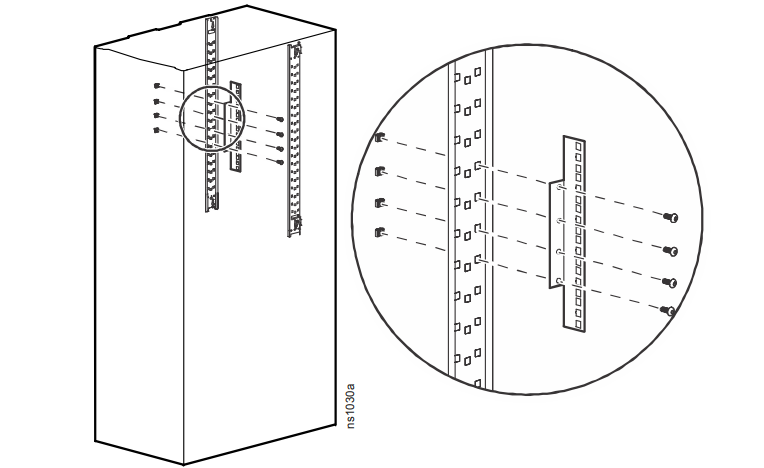
Installation:
The following procedure demonstrates a top mounting flange installation.
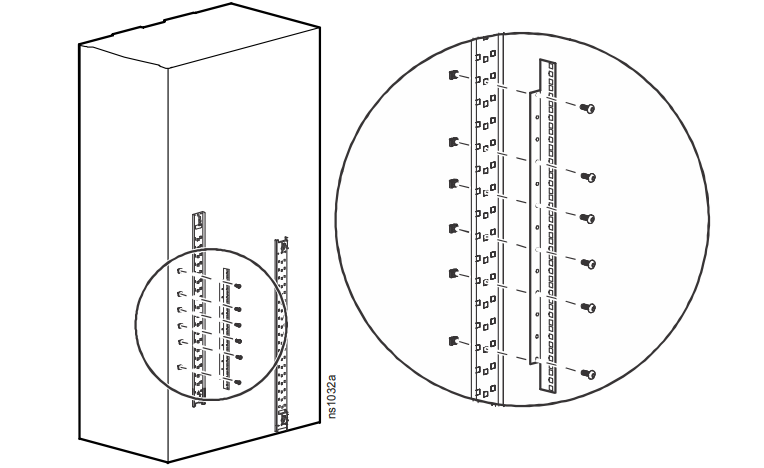
The following procedure demonstrates a bottom flange installation.
Intermediate mounting rails for supporting shallow depth equipment
Enables users to mount equipment with different depths in a 48U, 750 mm enclosure.
Installation:
The following procedure demonstrates a top mounting flange installation.
The following procedure demonstrates a bottom flange installation.
Product data is provided by Icecat, we do not warrant the accuracy of the material above.