
It feels logical to go by height when looking for a new data cabinet. You add up the kit, settle on a 6U or a 9U, and place the order only to hit the real problem later on: the switch is too deep to seat properly, or there is no way to get behind the rack to sort the cabling. Height tells you how much you can fit. Depth tells you whether it fits at all and whether you can work on it once it is in.
Because more real computing now sits in offices and branch sites rather than a central server room, this issue is becoming increasingly prevalent. Global spending on edge computing, the hardware deployed close to where people actually work, is on course to reach roughly $380 billion by 2028. A good share of that kit is landing in ordinary offices, and it all needs housing properly.
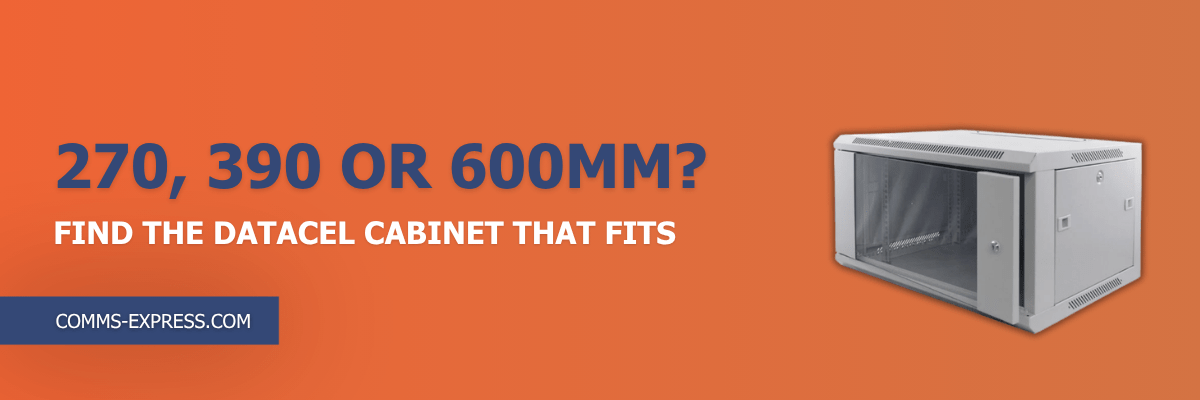
Datacel wall-mounted cabinets come in three depths, and each one suits a different job: 270mm for patching, 390mm for light networking, and a 600mm swing-back combi for small servers. Every cabinet in the range is also built with a welded frame, which gives it more strength and rigidity than the bolted frames typically found on competitor cabinets. When you work out what you are actually mounting, the right rack cabinet size tends to pick itself.
270mm: Patching and SOHO Switches, Nothing With a Rear Power Supply
The shallowest of these data cabinet racks is the one to reach for when the job is patching and keeping things tidy. A 270mm cabinet takes patch panels, a SOHO or desktop switch and your cable management, which makes it a sensible choice for a small comms point mounted neatly on a wall. It has front mounting profiles only, so everything hangs off the front, and there is no rear rail to work with.
That front-only design means that, with roughly 220mm of usable depth inside, anything with a rear power supply or a deeper chassis will not seat properly. A rack-mount switch with an internal PSU needs clearance at the back for its power connector, and a shallow cabinet does not give you that room. A right-angled power lead can claw back a little space, but as a rule, if the kit draws power from the rear, this is not the network cabinet rack for it.
You can see how it handles a typical patching setup in our 270mm cabinet walkthrough.
390mm: Small Switches and Light Networking Gear
Step up to 390mm and you get the everyday choice for most small offices. With around 340mm of usable depth inside and both front and rear mounting profiles, it comfortably takes a standard small switch, patch panels, a shelf and the rest of your light networking gear. This is the size most people actually want when they picture a wall-mount server rack: enough room for a real switch and its cabling, without a deep cabinet dominating the wall.
The move up from 270mm is easy to judge. If your switch draws power from the rear, or you simply want a little breathing room around the kit, the extra depth here solves it. That headroom is worth having for another reason too. Cramped enclosures with cabling packed against the equipment restrict airflow, and poor airflow puts kit under avoidable thermal stress over time. A bit of clearance keeps things running cooler and cleaner.
For most offices setting up a single 6U server rack on the wall, this is the one to start with.
See it in action in our 390mm cabinet walkthrough.
600mm Swing-Back Combi: Small Servers and Patching, With Rear Access
The 600mm two-section cabinet is the one to choose when a shelf-mounted switch is no longer the whole story. It has the depth to take a small server alongside your patching, with front and rear mounting profiles and cable entry top, bottom and through the rear section. What sets it apart is in the name: mounted on the wall, it swings open to give you proper access to the back of the rack for installation and cabling.
That rear access is the real reason to size up to this one. Anyone who has tried to dress cables or swap a lead in a fixed shallow cabinet knows the frustration of working blind against a wall. Being able to swing the cabinet open and get behind the kit turns an awkward job into a straightforward one, which matters most when the setup will grow or the cabling needs revisiting.
Think of it as the closest a small office gets to floor-rack practicality without giving up the floor space. If you are running a server, or you want a small server rack cabinet you can actually maintain from the back, this is the one.
See how the swing-back access works in our 600mm combi cabinet walkthrough.
If You’re Doing X, Get Y: A Quick Recap
Once you know what you are mounting, the choice tends to settle itself. Here is the short version:
Patching a wall comms point with patch panels and a desktop switch: the 270mm is all you need.
Running a proper switch with room for cabling and airflow: the 390mm is the sensible default for most offices and the size most people picture when they think of a wall-mount server rack.
Hosting a small server or wanting rear access to maintain the kit: the 600mm swing-back combi is the one to reach for.
The rule of thumb is simple. Patching points to 270mm, a working switch points to 390mm, and a server points to 600mm. When the job sits between two sizes, go with the deeper one. The extra room rarely goes to waste, and it saves you swapping the cabinet out when your setup grows into a proper server rack for the office.
Find the Right Data Cabinet for Your Setup
Whether you need a shallow patching cabinet or a server-ready swing-back combi, you will find the full range on our Datacel wall-mounted cabinets page. Not sure which depth fits your kit? At the top of that page you will find the Express Cabinet Finder. Enter your requirements, and it will match you to the best-suited cabinet across our entire range.
Whatever depth you land on, that welded frame construction runs through the whole range, so you’re getting a solid, well-built cabinet either way. Or get in touch and our team will point you to the right option.
It is also worth a look at our wider server racks and cabinets range while you are planning, since the right enclosure sets up everything that goes inside it. And for a quick visual on each cabinet, head over to the Comms Express YouTube channel for the full set of product walkthroughs.