

| Product Code: | |
| Options: | |
| Qty: | |
| Unit Price: | £ |
| Part No: | APCER7SHELF |
| Manufacturer No: | ER7SHELF |
| Delivery: | In Stock: 1-2 Weeks |


 |
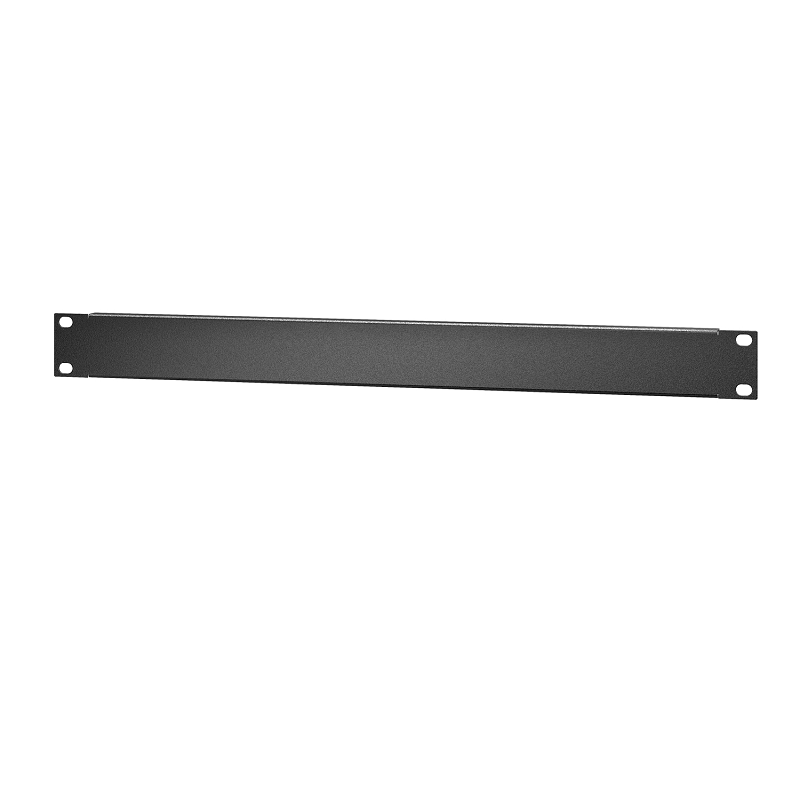
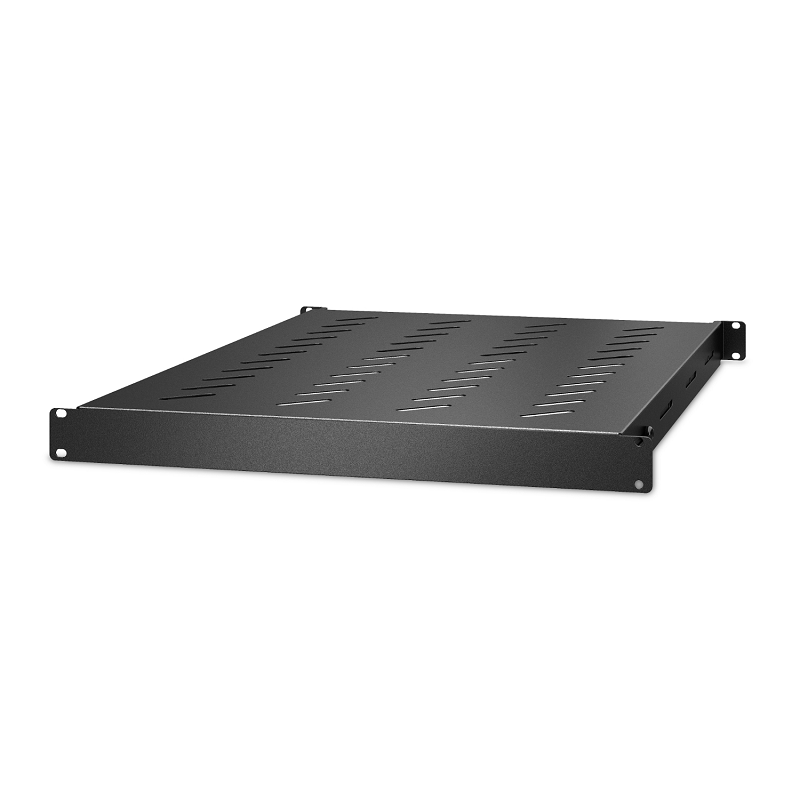
Easy Rack 50 kg Adjustable shelf
Install the cage nut:
1. From the inside of the rack, insert the cage nut into the square hole.
2. Hook one tab of the cage nut assembly through the far side of the hole.
3. Place the cage nut tool on the other side of the cage nut and pull to snap into position.

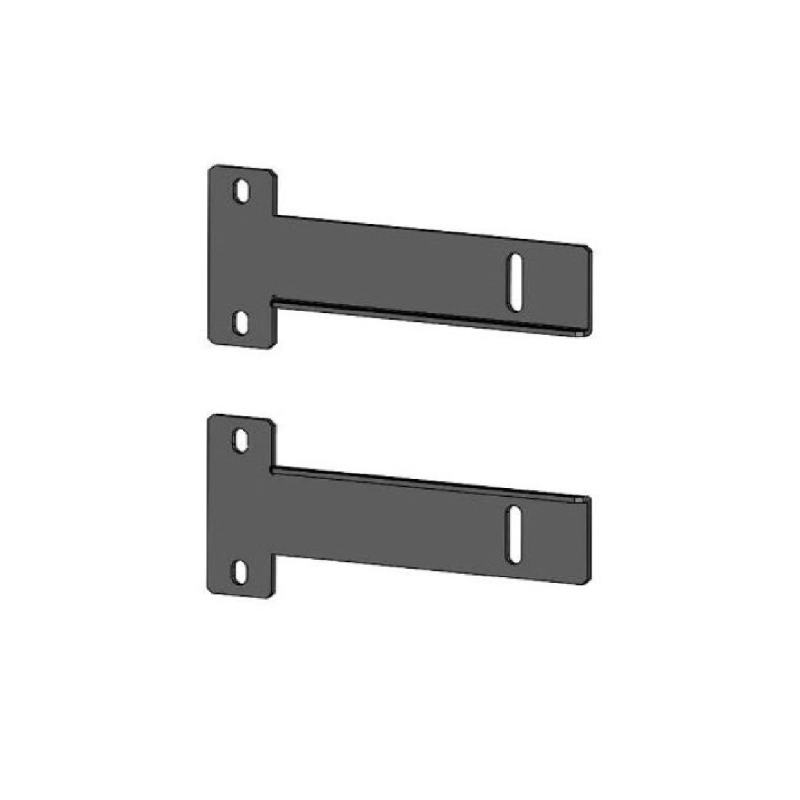
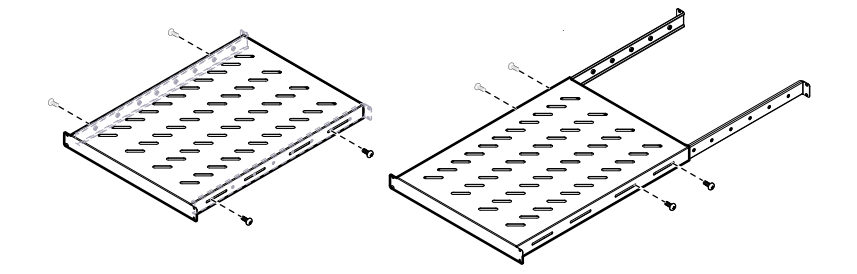
Install the 50 kg Accessory Shelf
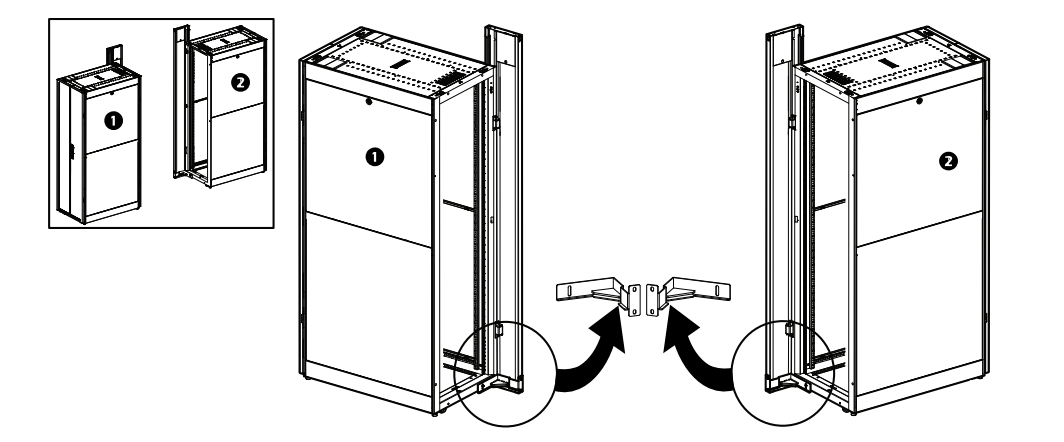
Install four (4) cage nuts (provided) to the two front vertical mounting rails as described above. Install four (4) cage nuts (provided) to the inside of the two rear vertical mounting rails as described above. At the front of the rack, attach four (4) M6 x 12 pan head T30 screws (provided) to the front of the shelf and into the four (4) cage nuts you installed in the vertical mounting rails. At the rear of the rack, install four (4) M6 x 12 pan head T30 screws (provided) to the adjustable rails on the rear of the shelf and through the four (4) cage nuts installed in the vertical mounting rails. The illustration below shows this installation process.
Installation details can be found in the Installation Guide PDF file
Easy Rack 50 kg Adjustable shelf
Install the cage nut:
1. From the inside of the rack, insert the cage nut into the square hole.
2. Hook one tab of the cage nut assembly through the far side of the hole.
3. Place the cage nut tool on the other side of the cage nut and pull to snap into position.
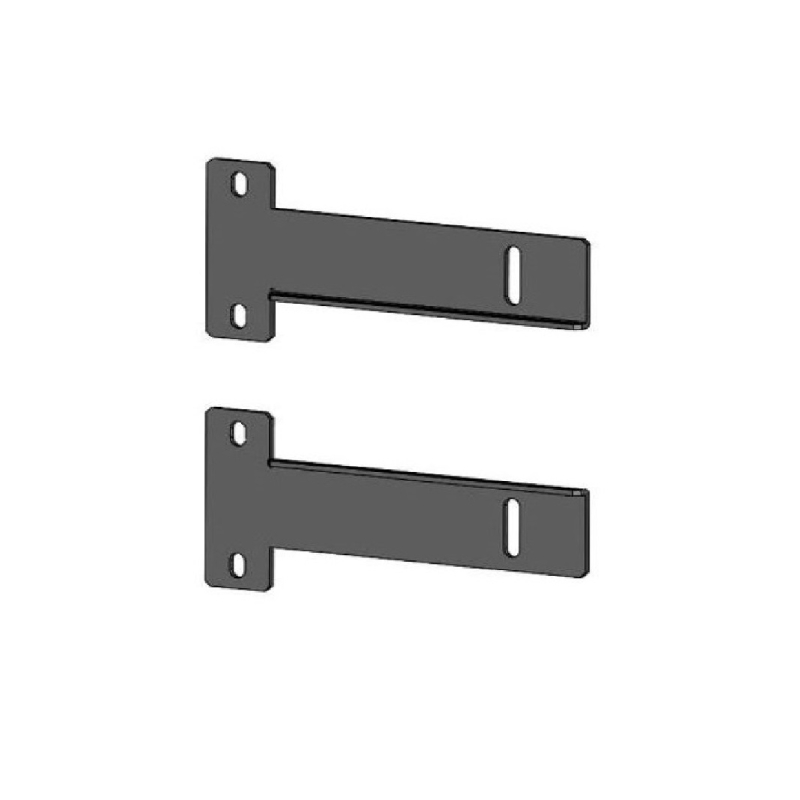
Install the 50 kg Accessory Shelf
Install four (4) cage nuts (provided) to the two front vertical mounting rails as described above. Install four (4) cage nuts (provided) to the inside of the two rear vertical mounting rails as described above. At the front of the rack, attach four (4) M6 x 12 pan head T30 screws (provided) to the front of the shelf and into the four (4) cage nuts you installed in the vertical mounting rails. At the rear of the rack, install four (4) M6 x 12 pan head T30 screws (provided) to the adjustable rails on the rear of the shelf and through the four (4) cage nuts installed in the vertical mounting rails. The illustration below shows this installation process.
Installation details can be found in the Installation Guide PDF file